
Problem
"I can't connect to WiFi."
Solution
Find the most relevant solution to your issue.
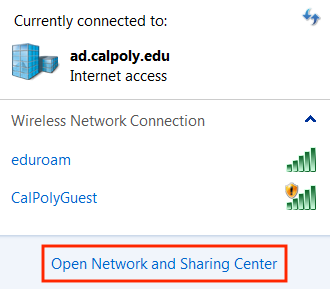
- Click the Network or Wi-Fi icon on the taskbar, then click Open Network and Sharing Center.
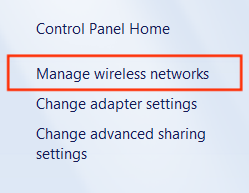
- Click Manage wireless networks.
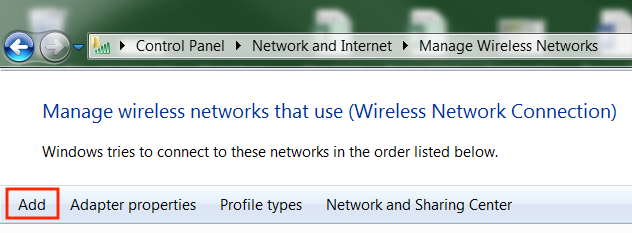
- Click Add.
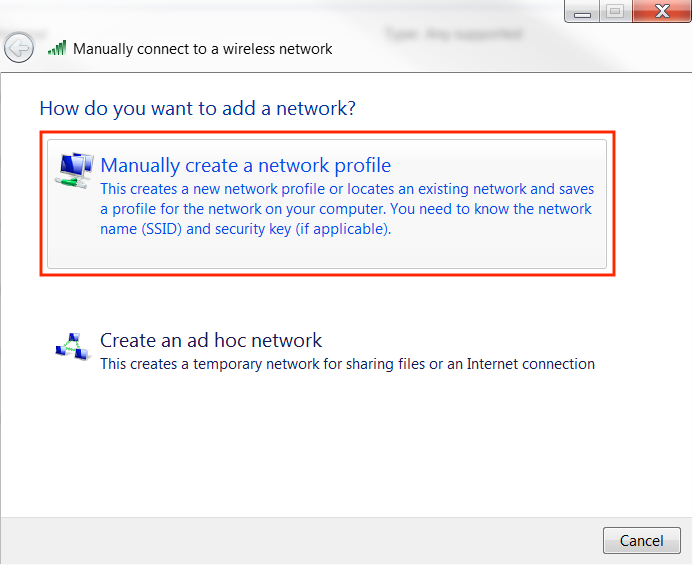
- Click Manually create a network profile.
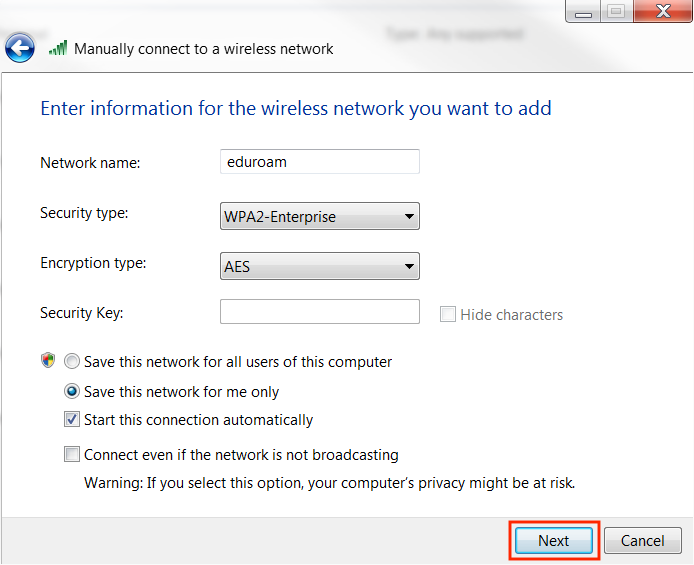
- Fill in the following information, then click Next.
- Network name: eduroam
- Security type: WPA2-Enterprise
- Encryption type: AES
- Tick the radio button for: Save this network for me only
- Check the box for: Start this connection automatically
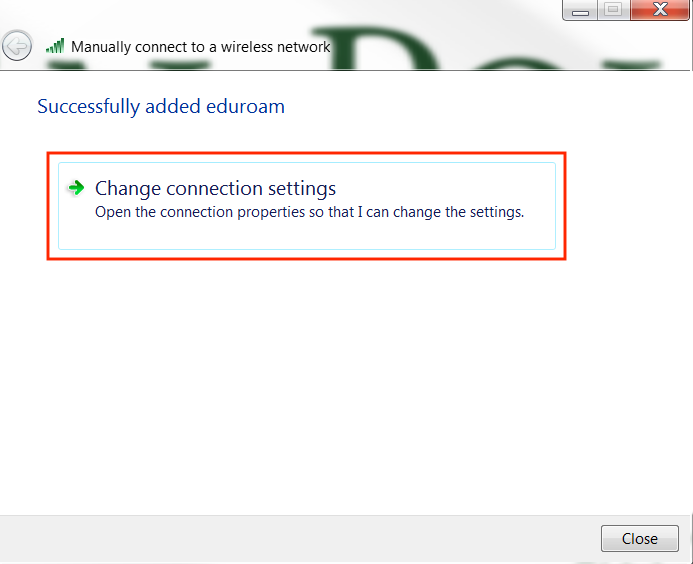
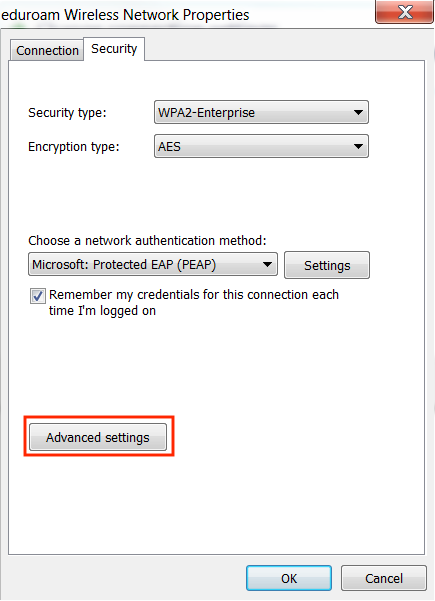
- Click Change connection settings.
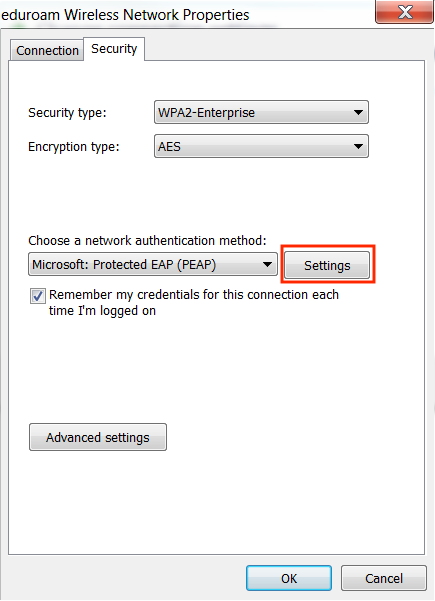
- Go to the Security tab and click Settings.
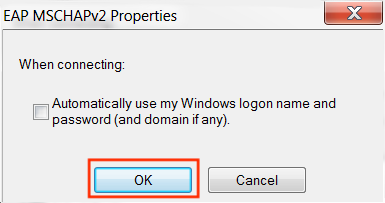
- Click Configure.
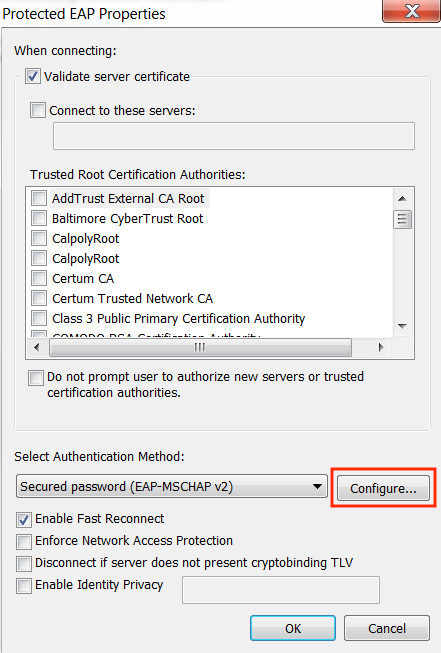
- Uncheck the "Automatically use my Windows logon name and password (and domain if any)." checkbox, then click the OK button.
- Go back to the Security tab, click Advanced settings.
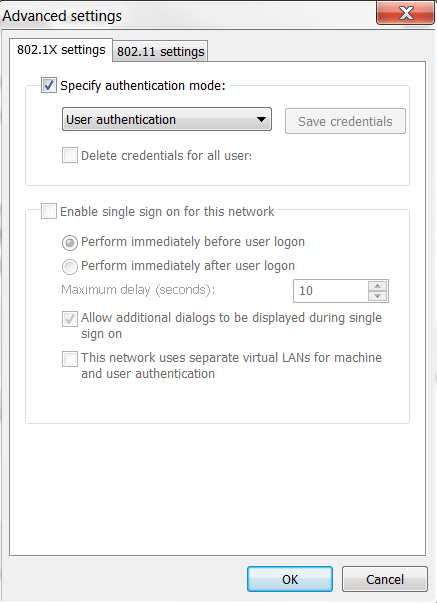
Check the box for: Specify authentication mode, from the drop-down select User authentication. Click the Save credentials button.
If the Save credentials button is greyed out, please skip to step 13.
- Enter your Cal Poly email address (username@calpoly.edu) and password, then click the OK button.

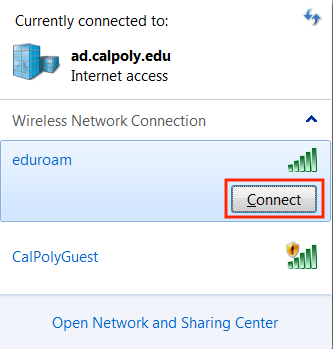
- Click the OK button for any open windows, then click the Wi-Fi icon on the taskbar and under eduroam click the Connect button.
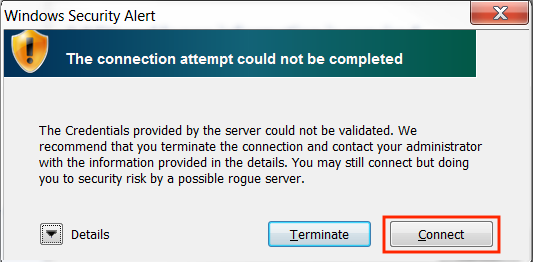
- You may receive a Windows Security Alert, click the Connect button to connect.
Related Articles