CP-IoT-Secure is a separate wireless network for gaming and media devices on campus. This network requires a quick registration process where you will be given a unique password to connect. Examples of IoT devices are game consoles, watches, Apple TVs, and smart TVs.
| Info |
|---|
Printers are not supported by campus ethernet or wifi.
|
...
| Anchor | ||||
|---|---|---|---|---|
|
...
| Expand | ||||
|---|---|---|---|---|
| ||||
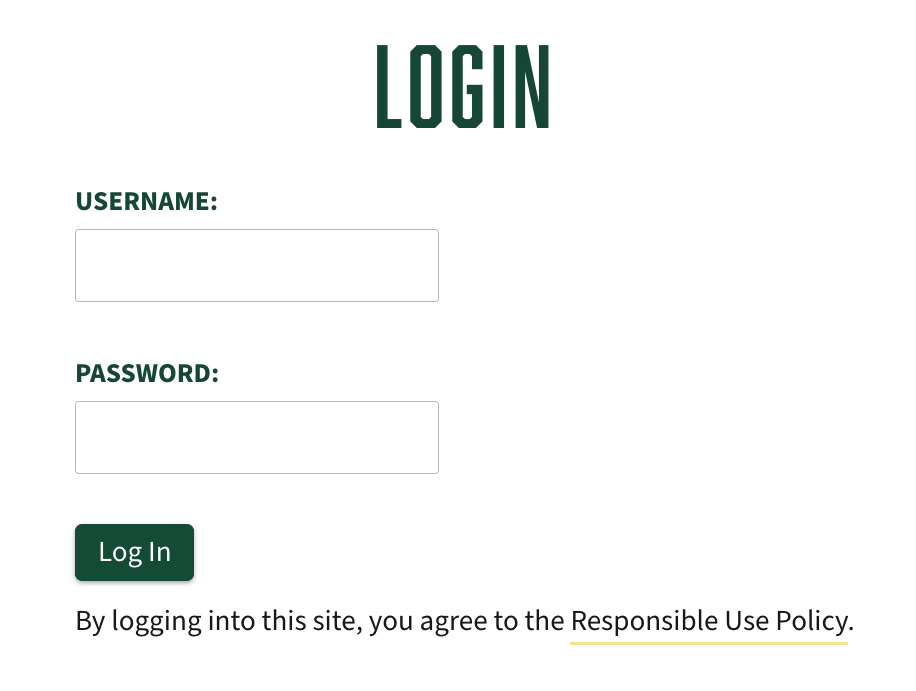
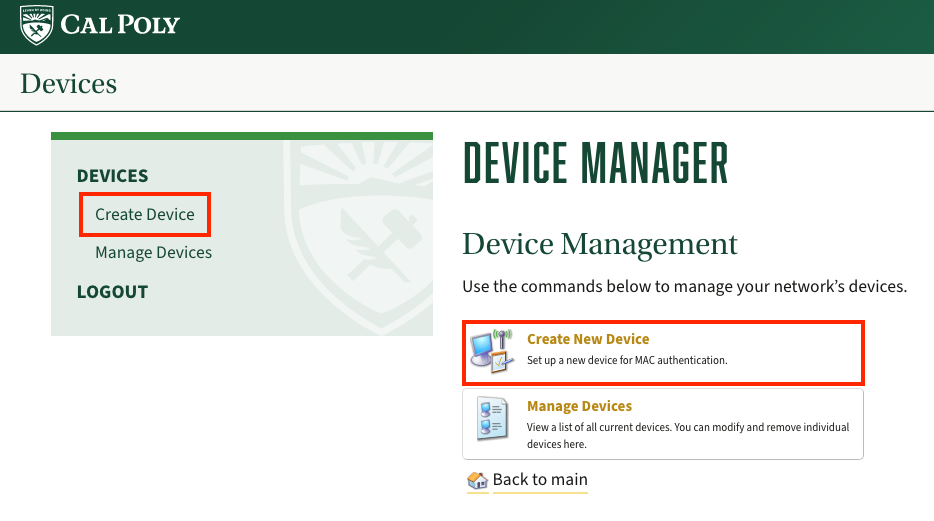
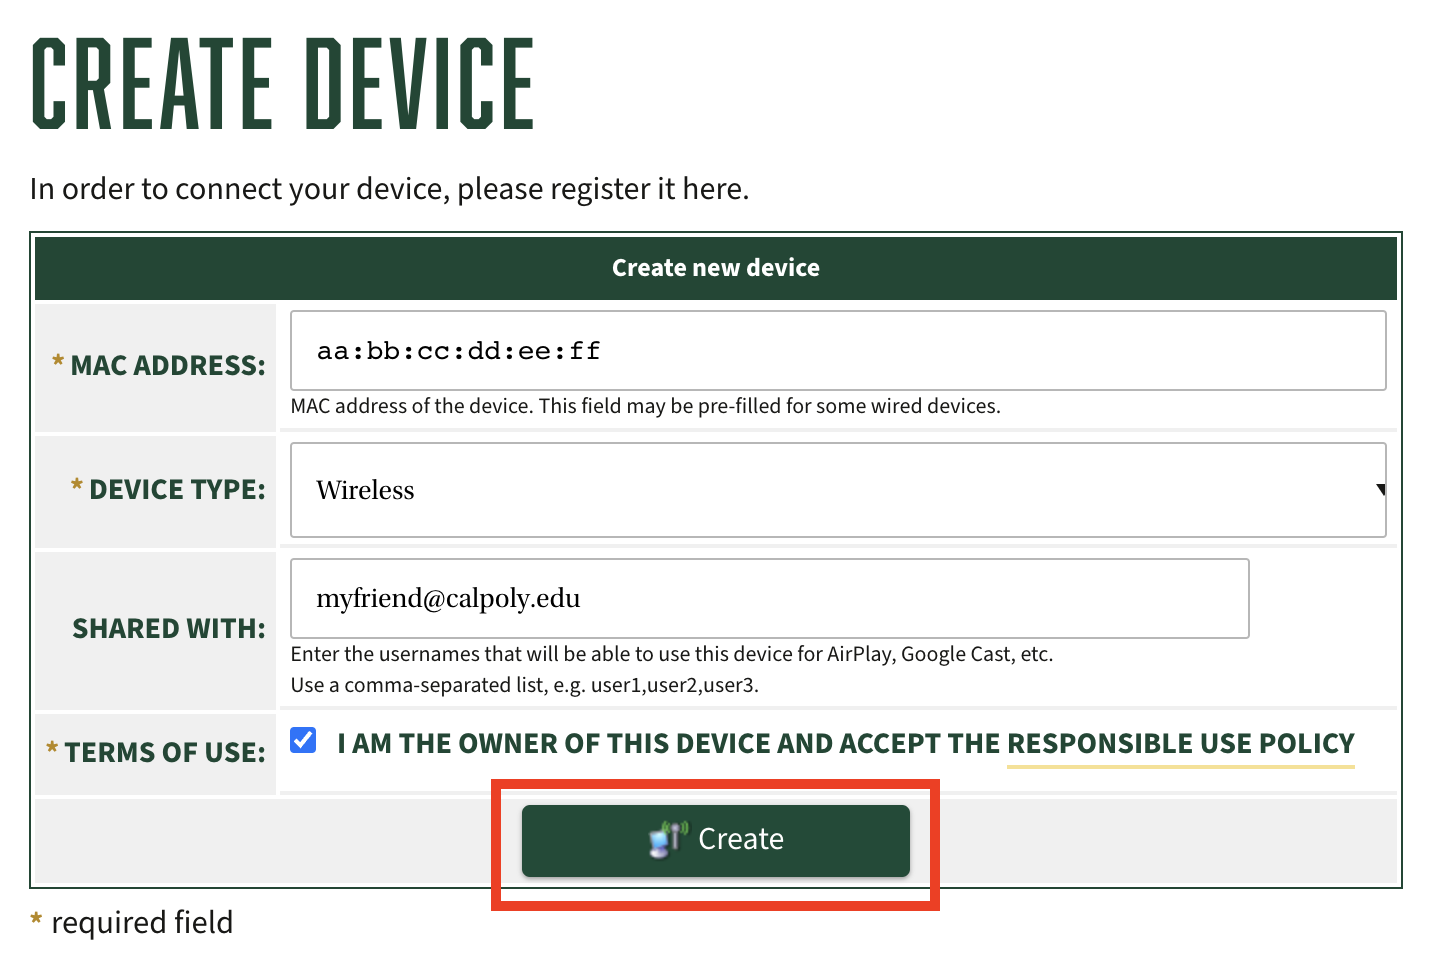
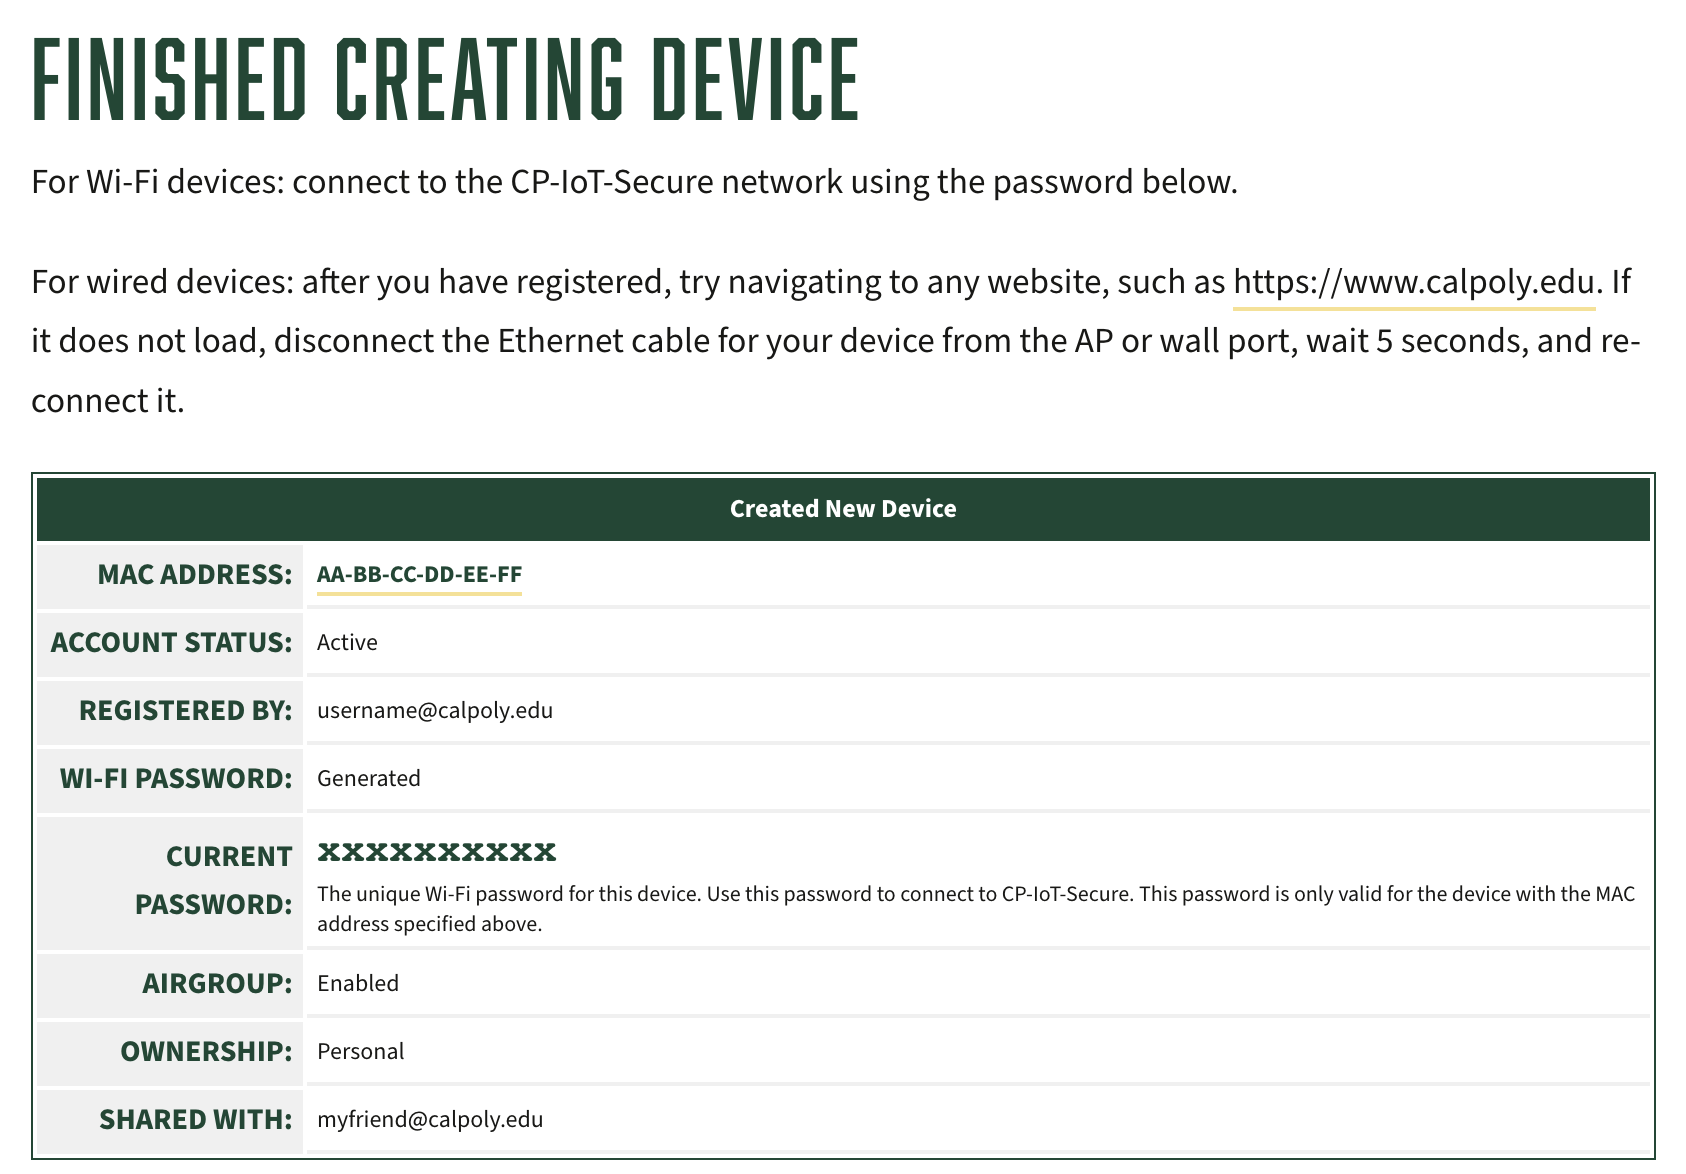
STEP 1 | Check to see if your device is on the supported devices list. STEP 2 | Go to IoT Device Registration and log in with your Cal Poly email address (username@calpoly.edu) and password. Click the Log In button. STEP 3 | Click Create Device or the Create a New Device button. STEP 4 | Enter the device's 12-digit WiFi hardware/MAC address. Separate the characters with colons (XX:XX:XX:XX:XX:XX). Select 'Wireless' for the Device Type STEP 5 | To share access to your device, enter Cal Poly email addresses (username@calpoly.edu) separated with commas. Then click the Create Device button. STEP 7 | On the next page, you will see your personalized WiFi password, which will only work on the CP-IoT-Secure network for that registered device. |
...
| Anchor | ||||
|---|---|---|---|---|
|
...
| Expand | ||
|---|---|---|
| ||
After you successfully register your device, connect it to the CP-IoT-Secure network. STEP 1 | Go to your device's WiFi settings and select CP-IoT-Secure. STEP 2 | Enter the password given to you during the IoT Device Registration process to connect. (This password is different from your Cal Poly password.) If you forgot your password, see View Devices and Passwords below. |
...
...
(
...
OPTIONAL)
SHARE
| Expand | ||
|---|---|---|
| ||
Normally, your device will not be able to be seen by anyone else, just you. You can choose to share your device with other Cal Poly users so they can connect to your device, either during the IoT Device Registration process or by logging in and managing your devices (see View Devices and Passwords below). Once sharing is enabled for another user, they will be able to see the device. If they can see the device in their Airplay menu, it means they can use it in the same way as you. If they cannot see the device, then they have not been granted access. |
VIEW Devices and Passwords
...
| Expand | |||
|---|---|---|---|
| |||
STEP 1 | Go to IoT Device Registration and log in with your Cal Poly email address (username@calpoly.edu) and password. STEP 2 | Click Manage Devices, then click on the device you'd like to view and an Edit link will appear. STEP 3 | Click Edit to see specific information about a device, including its current password (for Wi-Fi devices), the device type, and who the device is shared with.
STEP 4 | If you make any changes, click the Update Device button. |
| Info |
|---|
|
...


