Cal Poly’s Virtual Private Network (VPN) service allows faculty, staff, and students to access campus technology resources securely.
| Note |
|---|
Items to consider before installing the Global Protect VPN client on your computer:
|
...
| Expand | |||
|---|---|---|---|
| |||
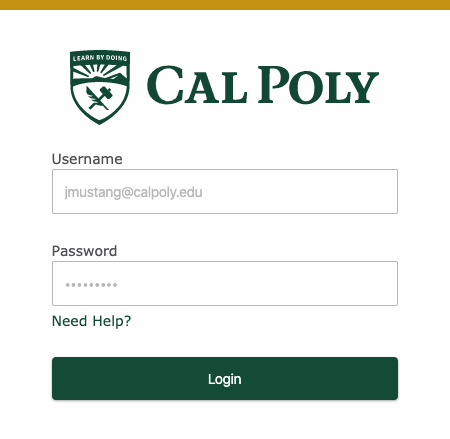
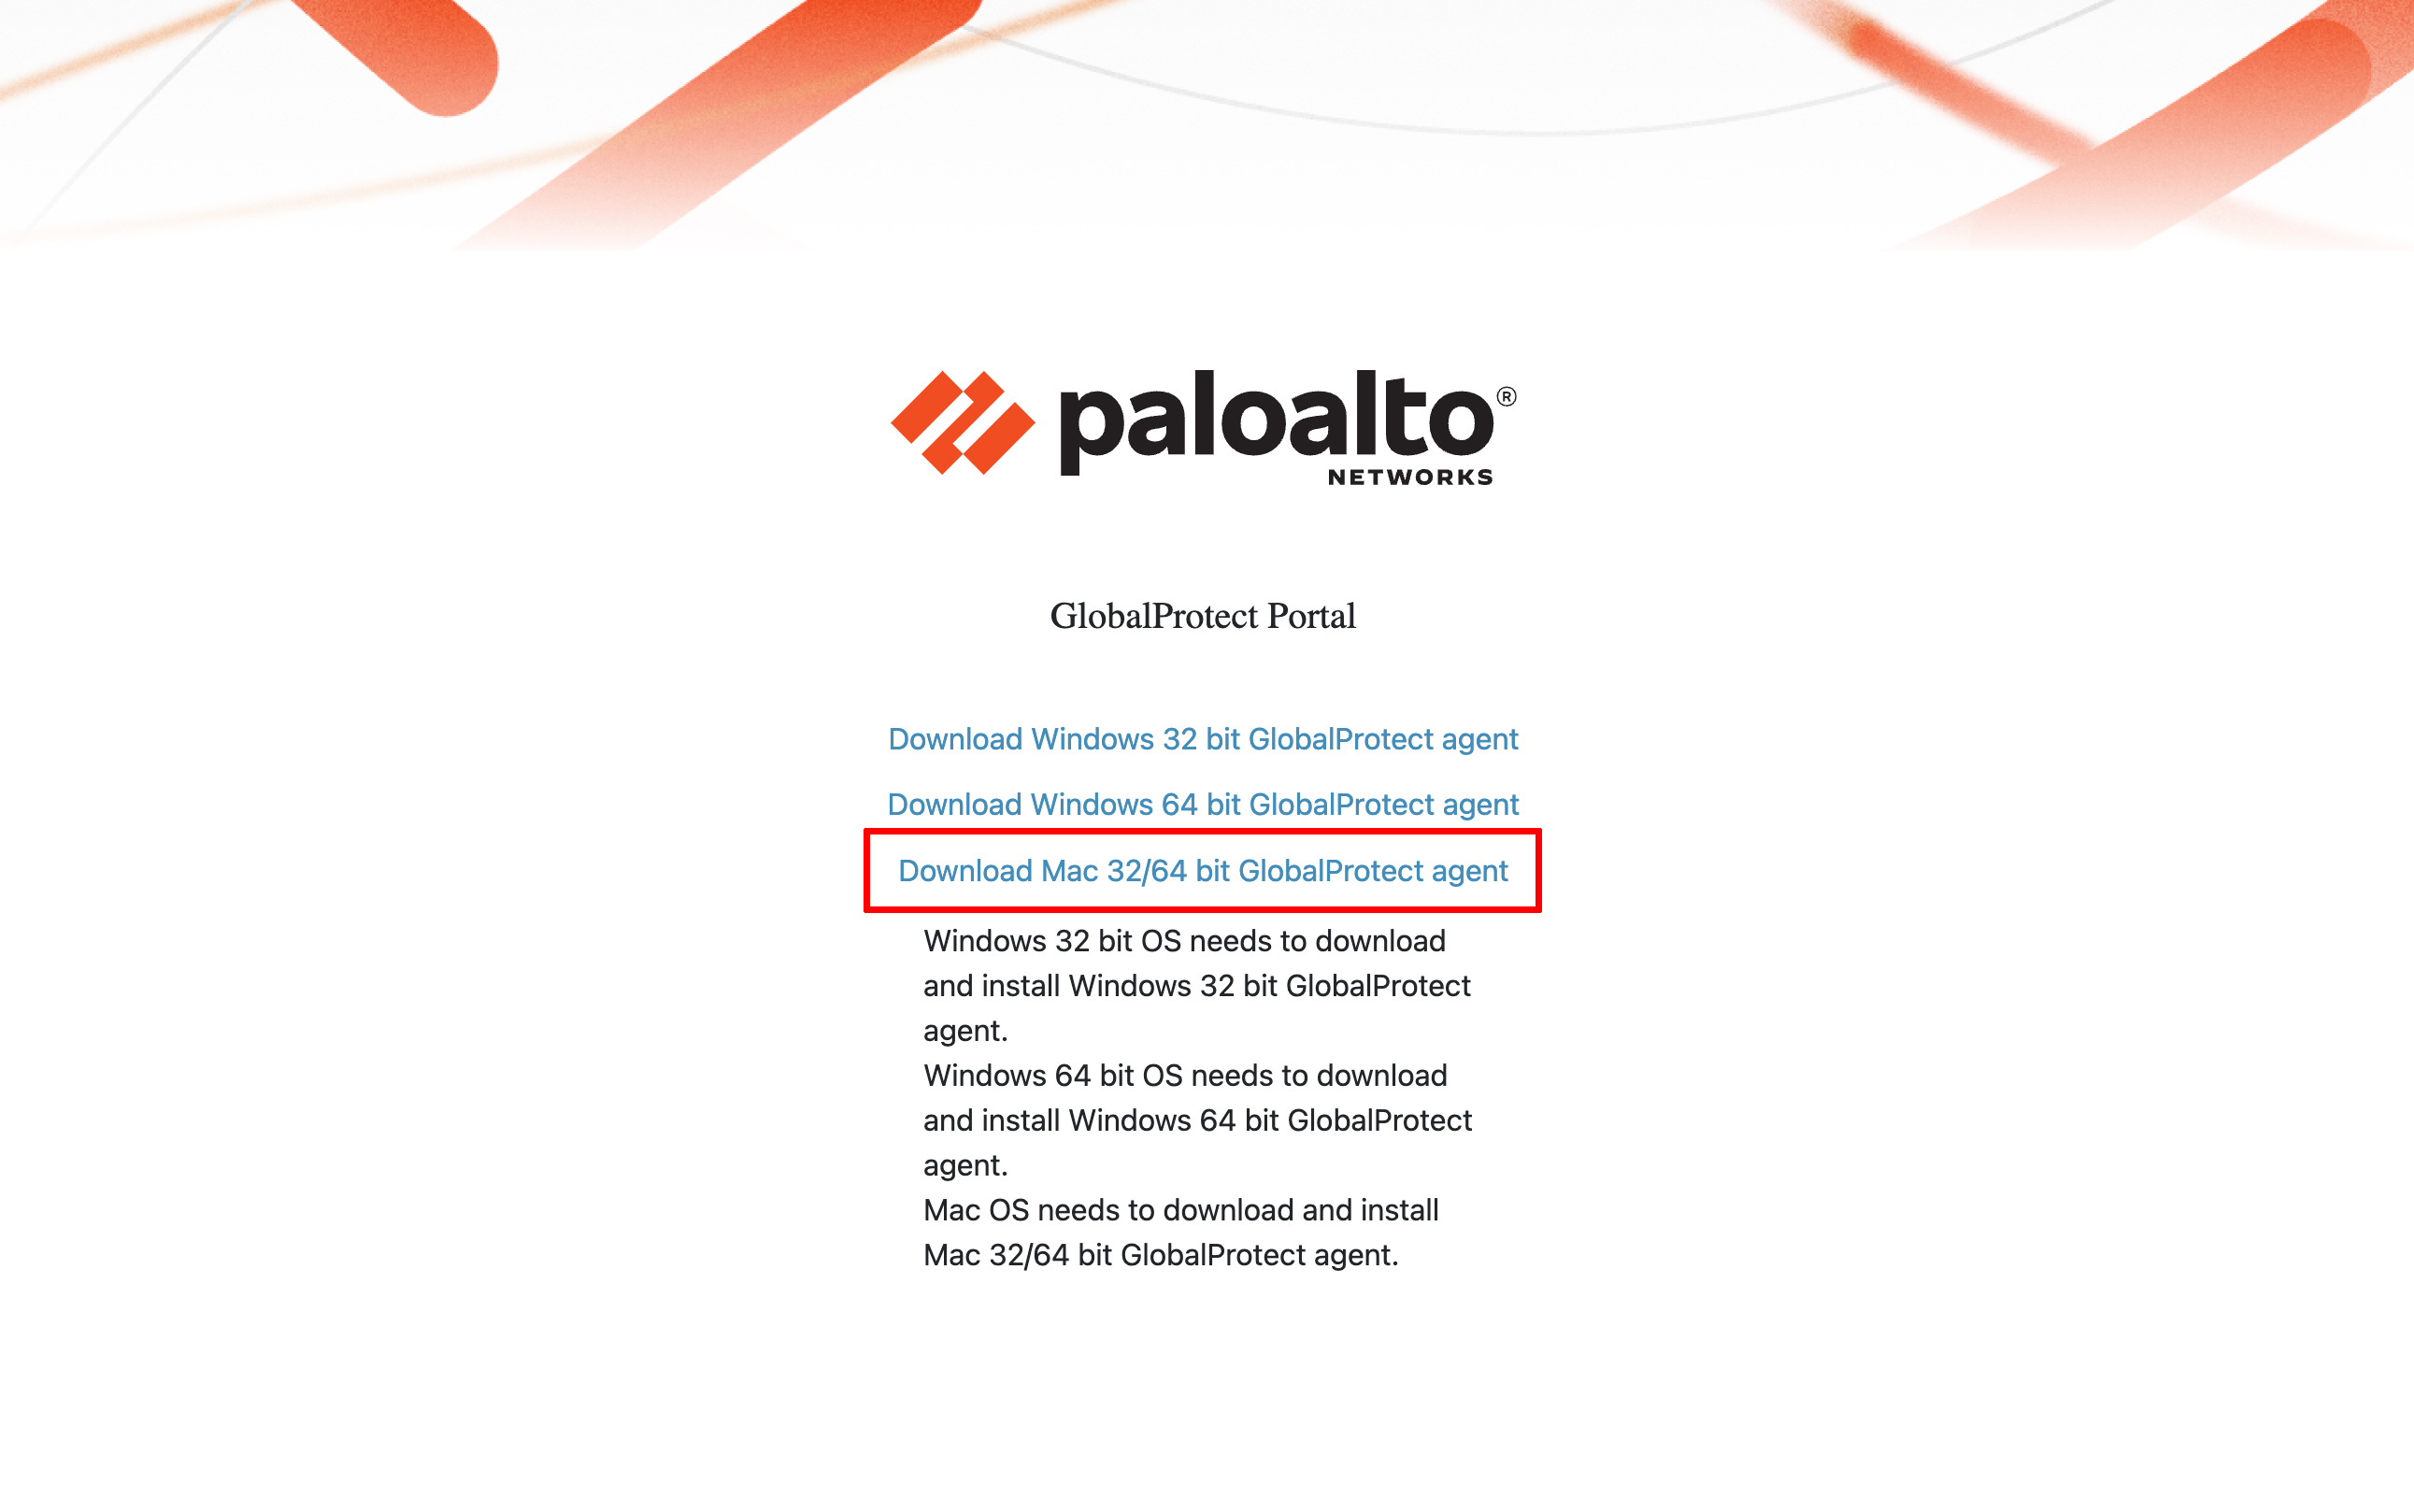
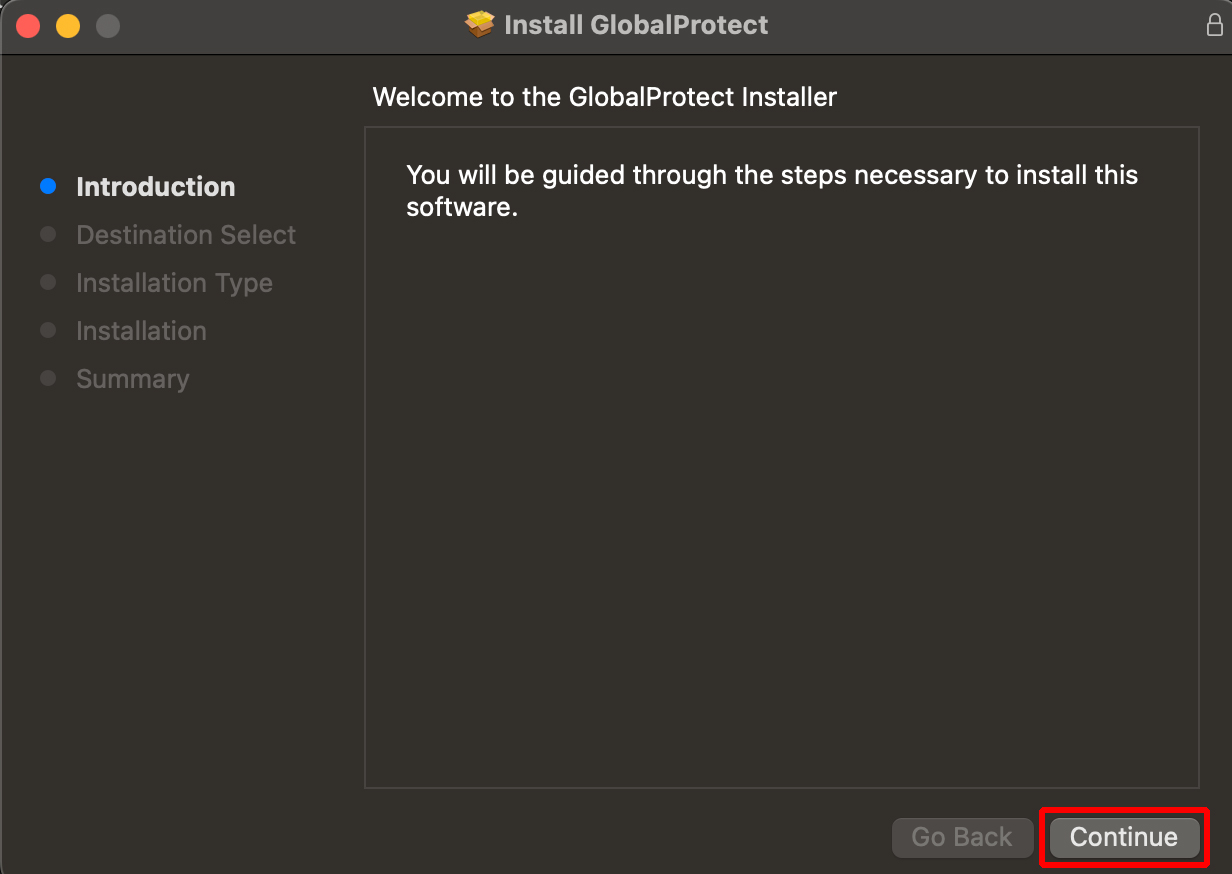
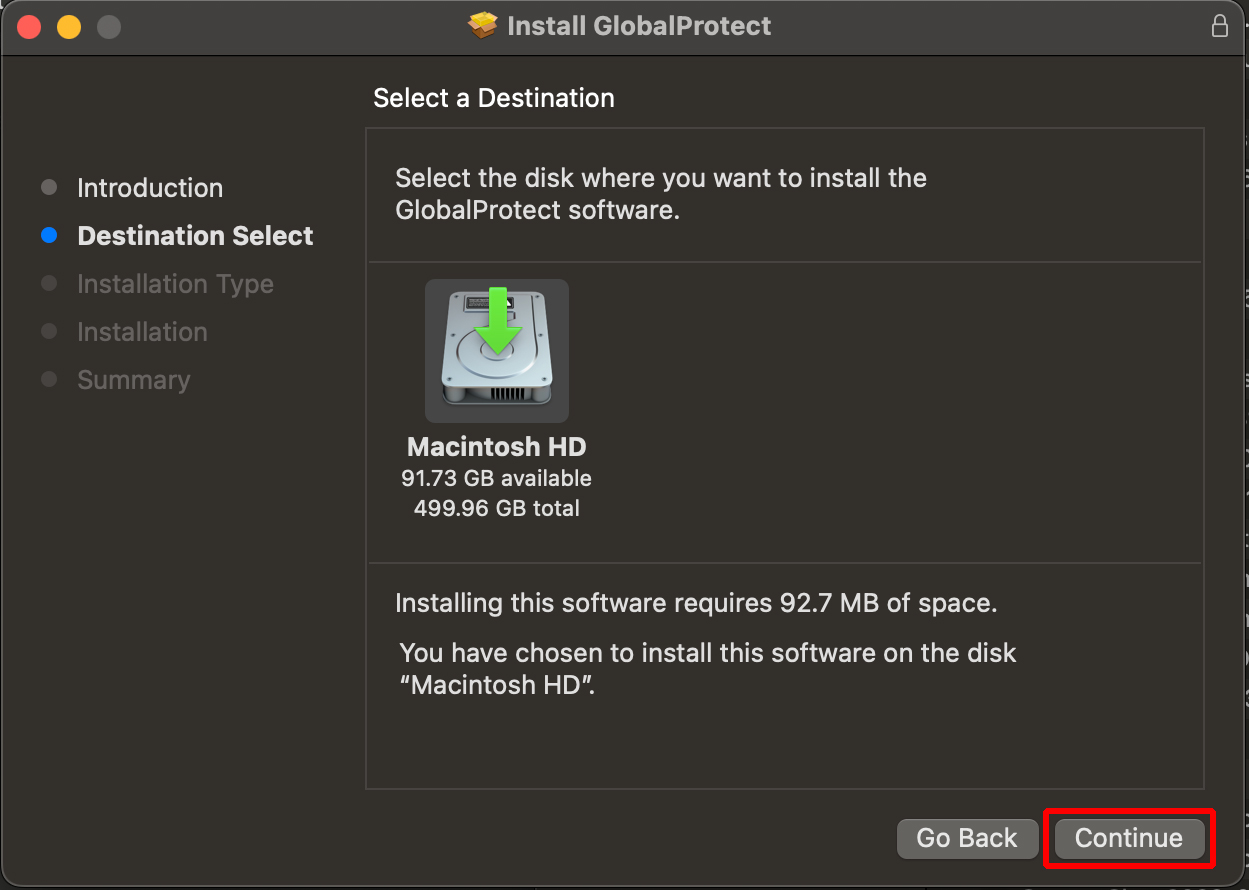
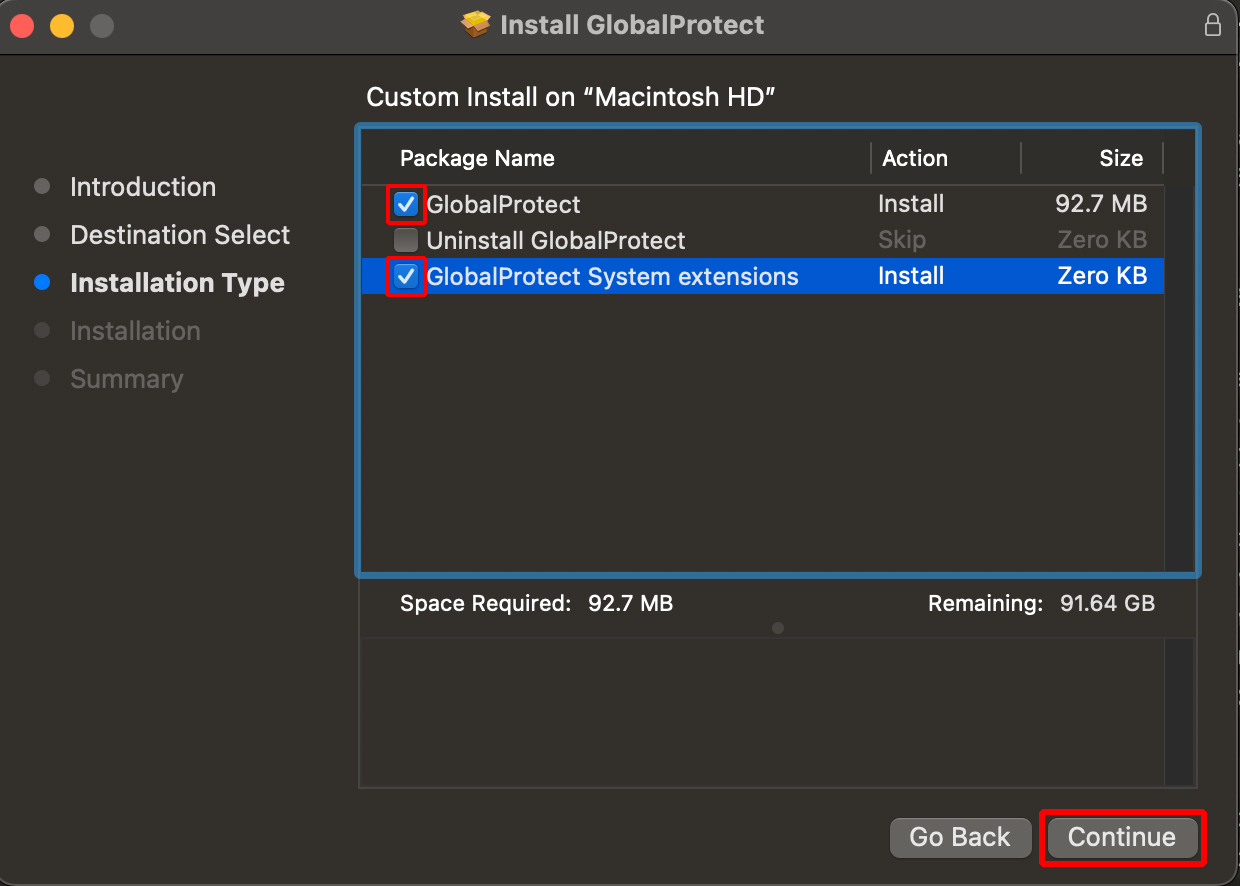
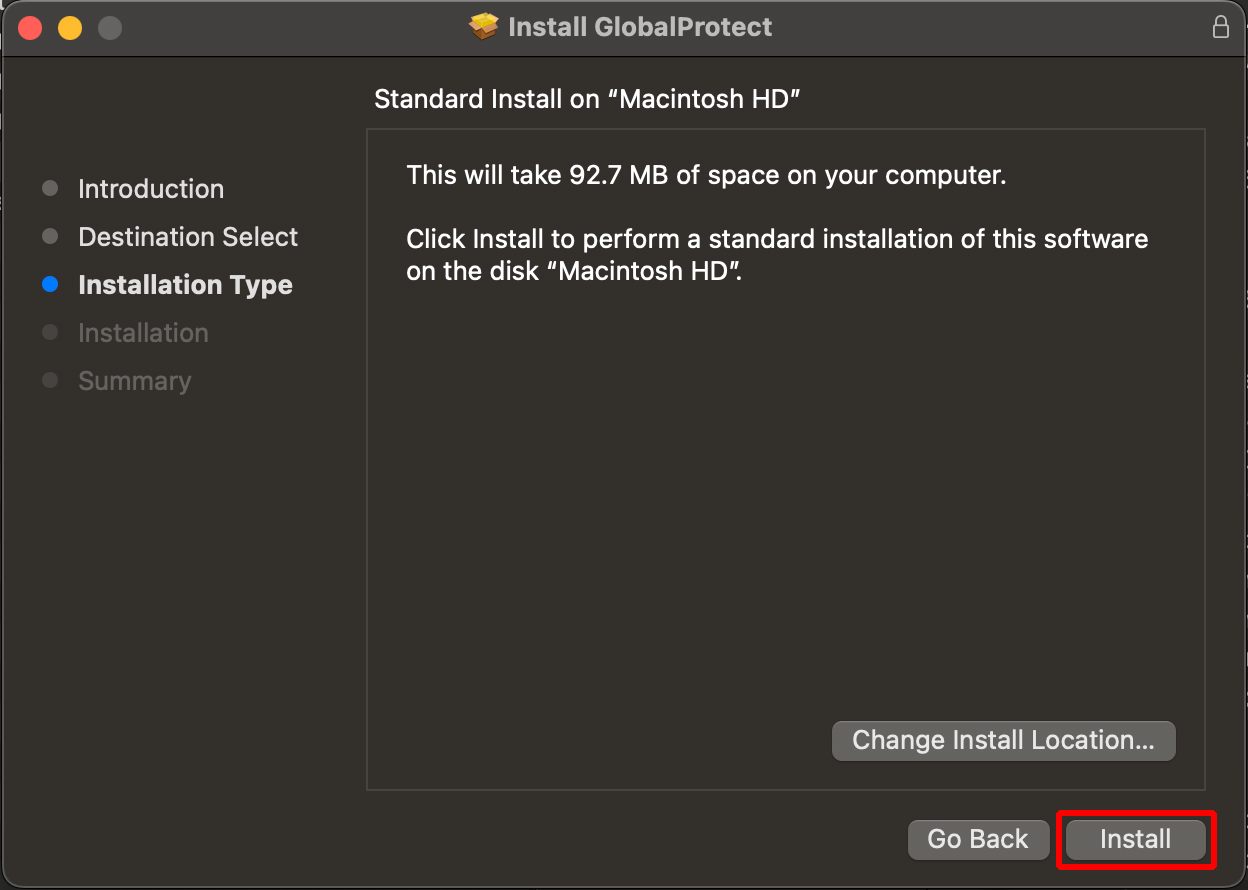
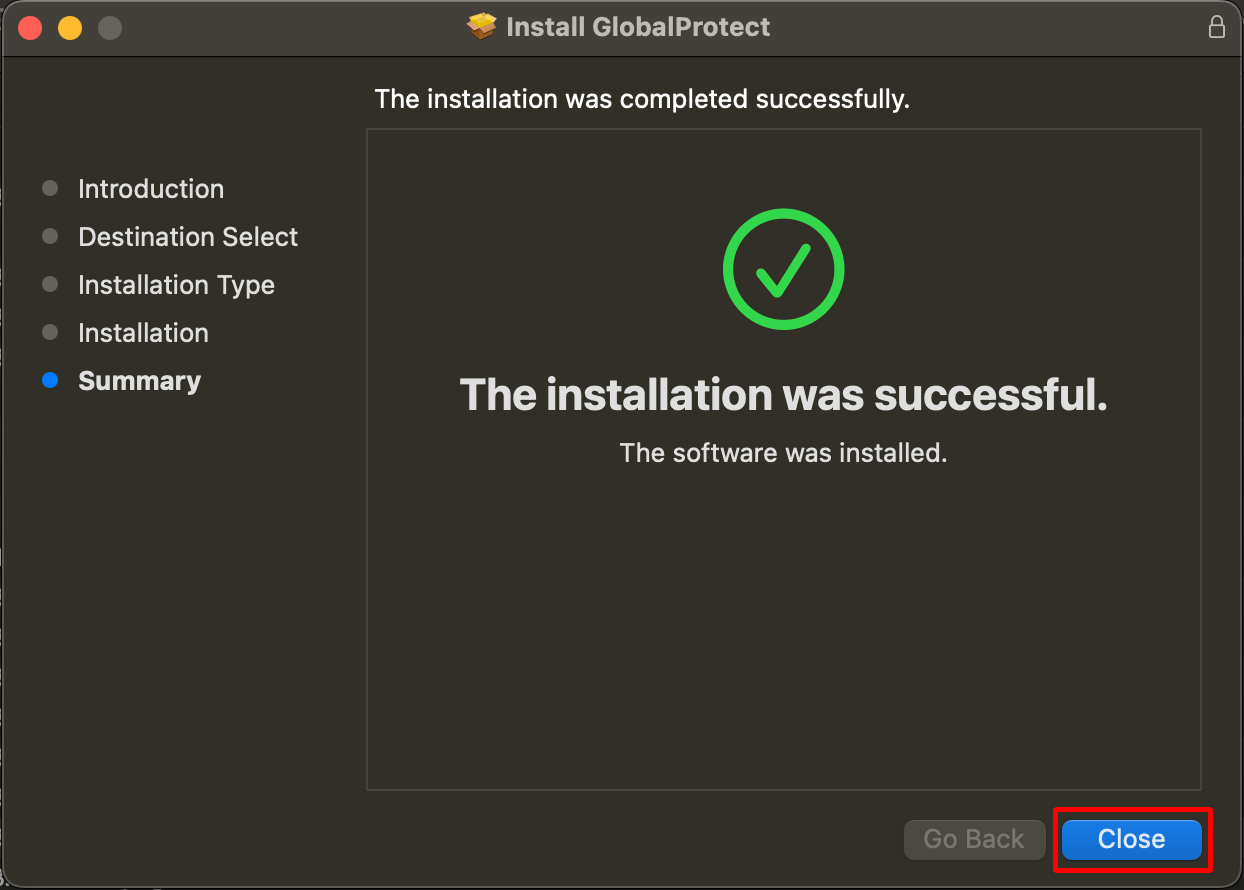
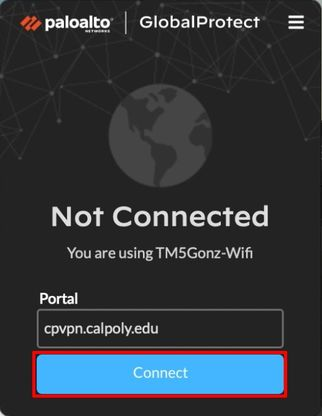
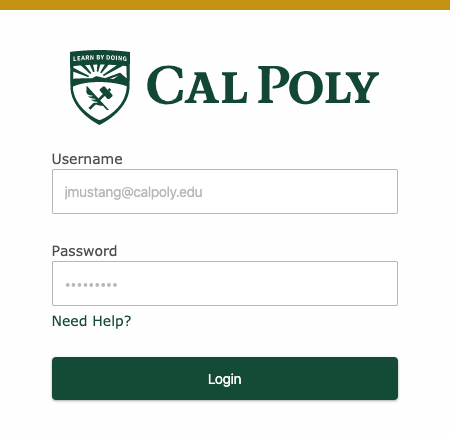
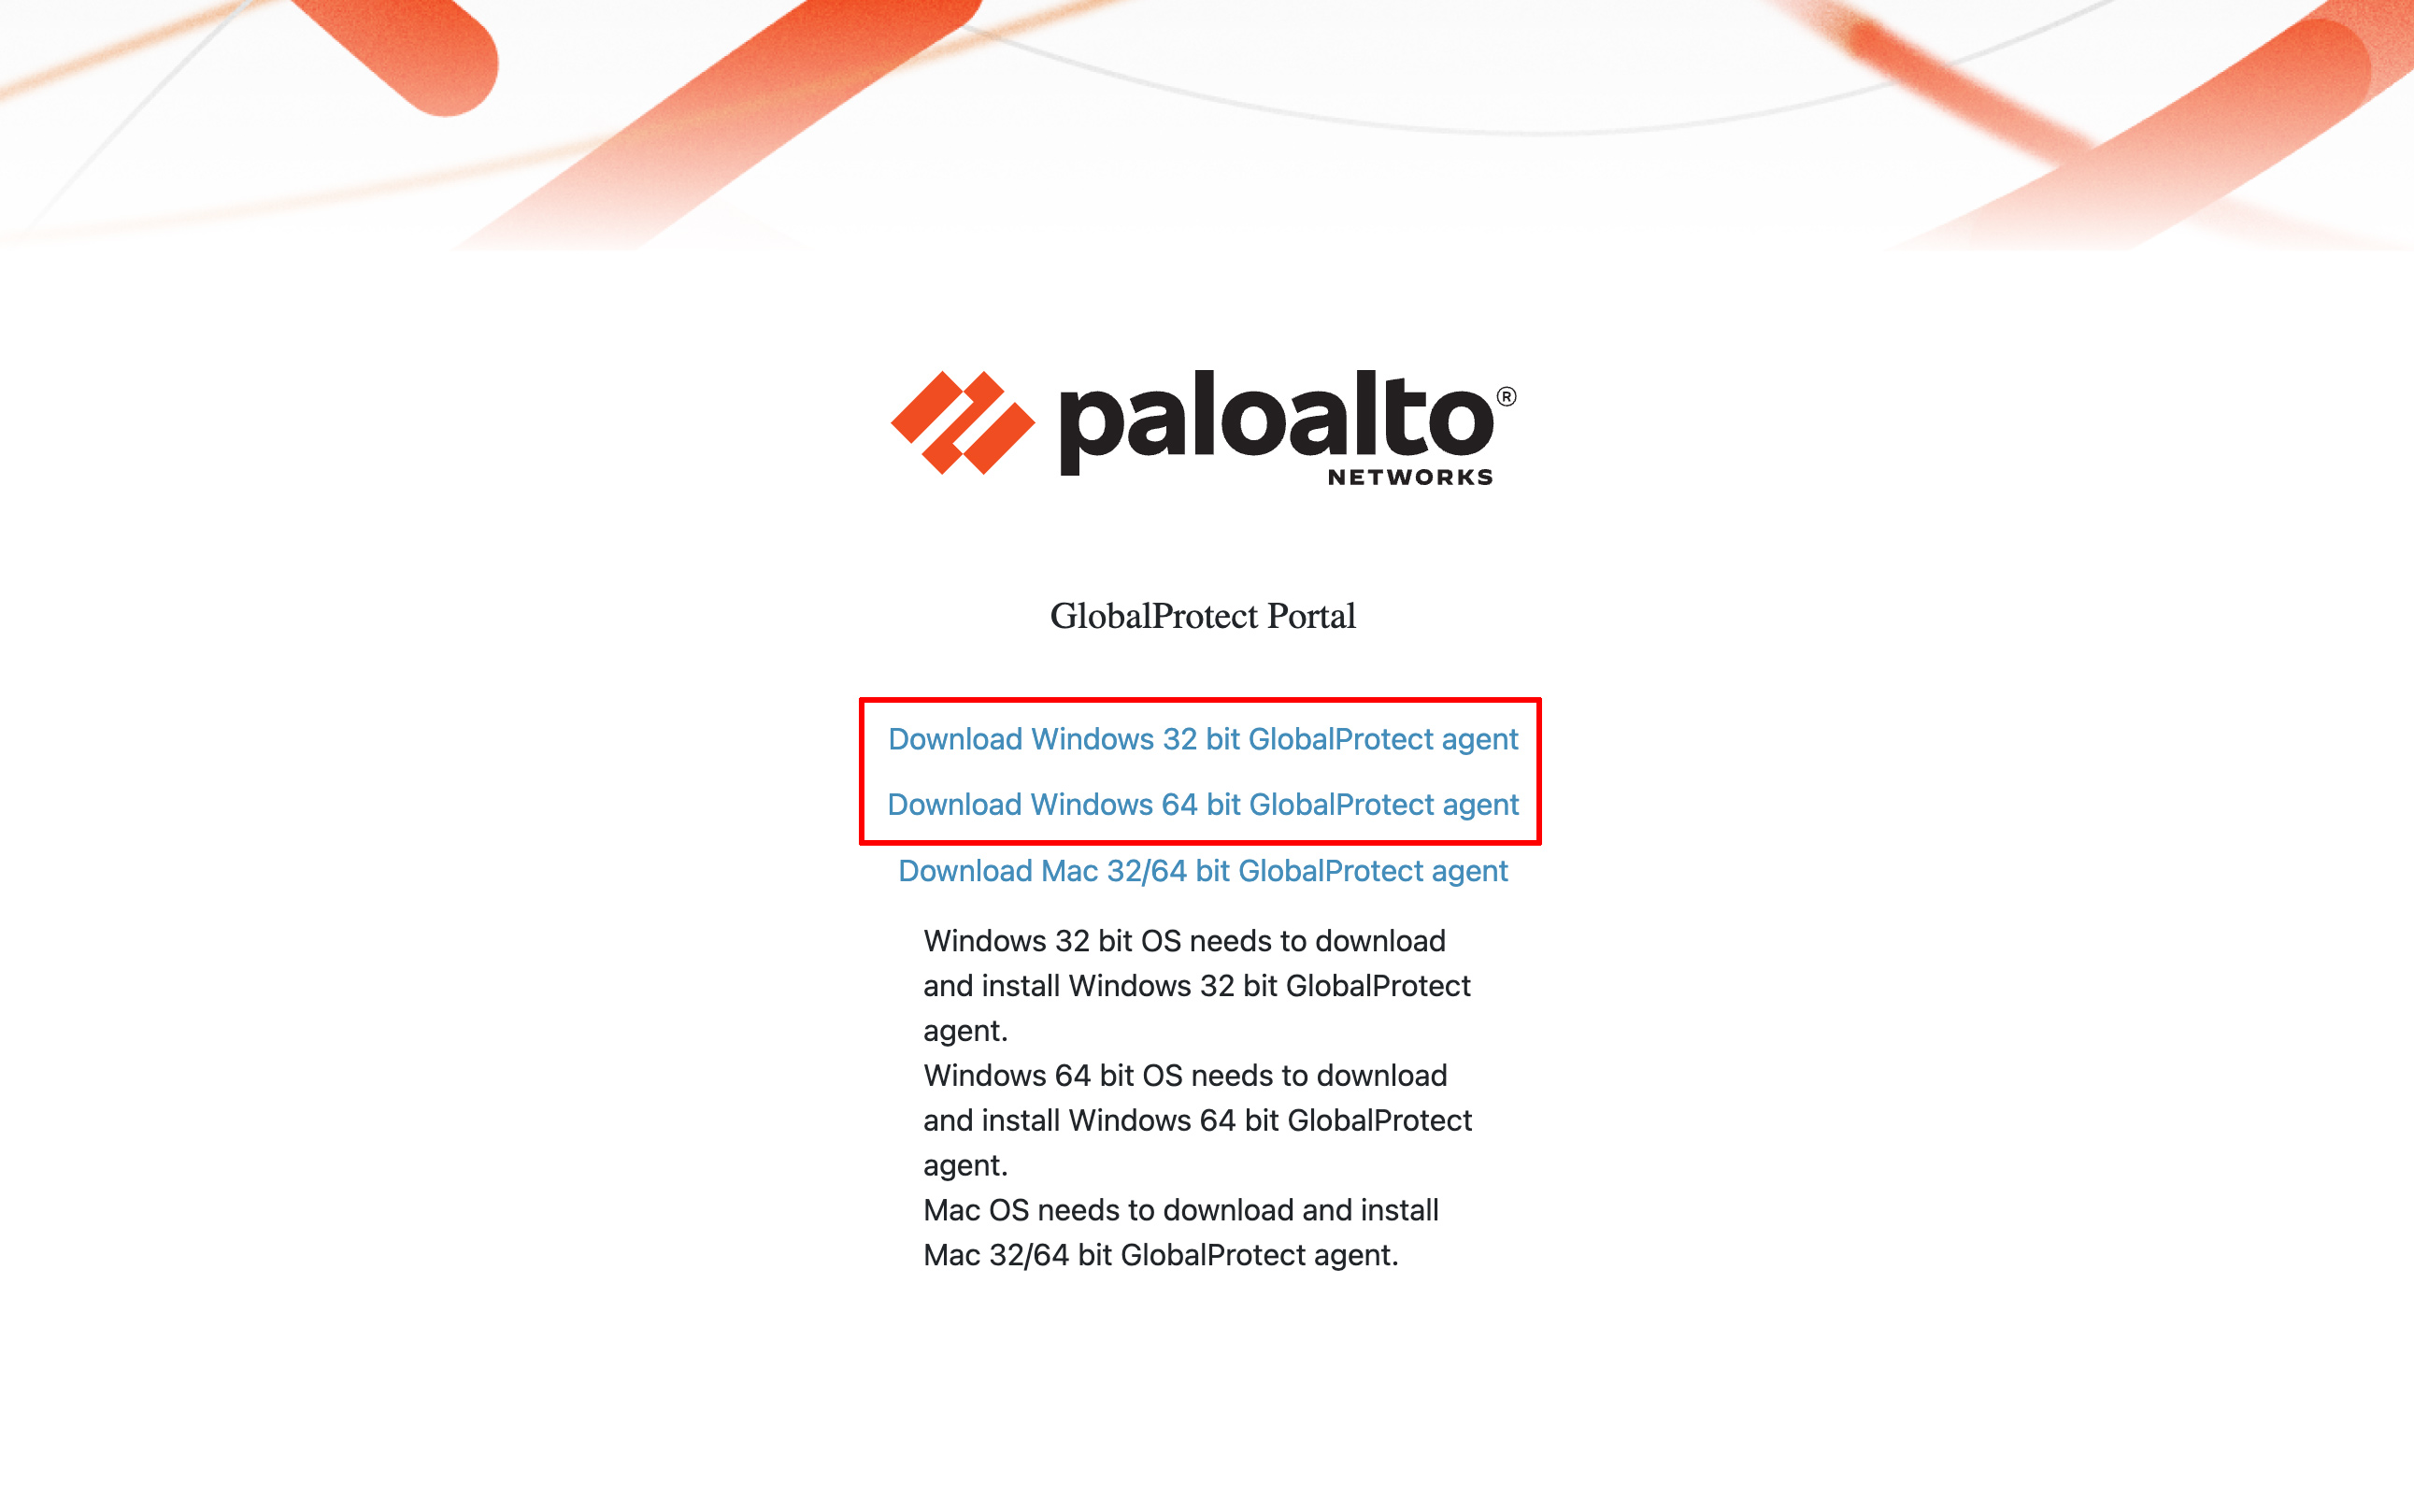
STEP 1 | IMPORTANT: BEFORE setting up VPN, you must enroll your device(s) with Multi-Factor Authentication (Duo). You will need to add a primary and secondary device. STEP 2 | Go to cpvpn.calpoly.edu and log. Sign in with your Cal Poly username ( do not include @calpolydo not include @calpoly.edu) and password.and password, then click the Login button. Do not press the ENTER key on your keyboard. STEP 3 | You will be prompted to authenticate with Duo. STEP 4 | Click on the Download Mac 32/64 bit GlobalProtect agent link. STEP 5 | Once downloaded, double-click the file to launch the GlobalProtect.pkg installer. STEP 6 | Start the installation by clicking Continue. STEP 7 | Select your computer disk (generally labeled Macintosh HD), then click Continue. STEP 8 | Select BOTH GlobalProtect and GlobalProtect System extensions, then click Continue. STEP 9 | Next, click Install. STEP 10 | Here you should receive a prompt asking you to enter your password to allow this installation. Enter the password you use for your Mac, then click Install Software. STEP 11 | You should get a message indicating that The installation was successful. Then click Close. STEP 12 | From the top screen menu bar, Click the GlobalProtect icon, then click Get Started. STEP 13 | Enter cpvpn.calpoly.edu as the portal address, then click Connect.
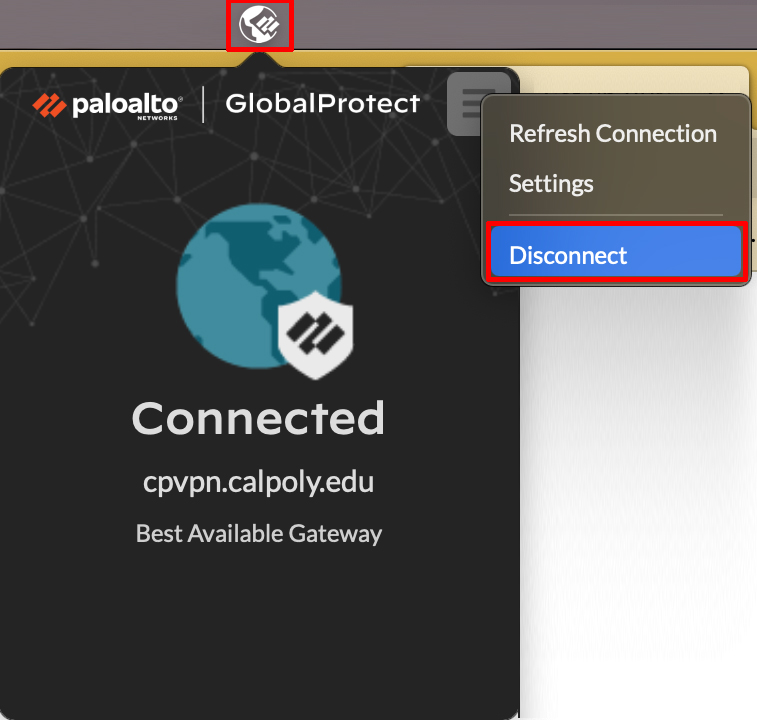
STEP 14 | Type your Cal Poly username (do not include @calpoly.edu) and password, then click the Login button. Do not press the ENTER key on your keyboard. NOTE: If GlobalProtect App security warnings pop up on-screen, always click Allow. STEP 15 | You are now connected to Cal Poly's VPN. The Connected status is displayed in the Mac Menu Bar. STEP 16 | Once you are done with your session, click the GlobalProtect icon, then click the ≡ menu icon, then select Disconnect. |
Windows
| Expand | ||
|---|---|---|
| ||
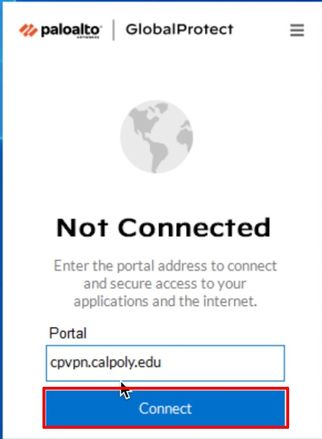
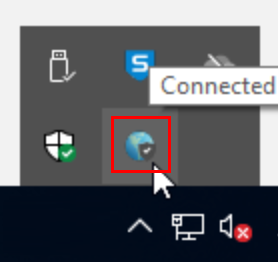
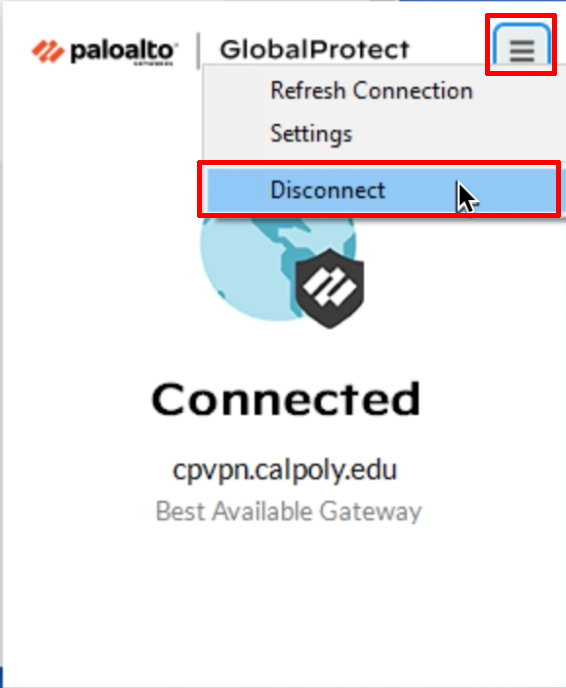
IMPORTANT: BEFORE setting up VPN, you must enroll your device(s) with Multi-Factor Authentication (Duo).You will need to add a primary and secondary device. STEP 1 | Go to cpvpn.calpoly.edu and log. Sign in with your Cal Poly username ( do not include @calpolydo not include @calpoly.edu) and password.and password, then click the Login button. Do not press the ENTER key on your keyboard. STEP 2 | You will be prompted to authenticate with Duo. STEP 3 | Click the Download Windows 64 bit or Windows 32 bit GlobalProtect agent link, depending on your operating system version. STEP 4 | Run the downloaded file. Then, after the GlobalProtect Setup Wizard opens, install it by clicking Next. STEP 5 | If you do not see the GlobalProtect window, go to the system tray located in the bottom right section of the Windows taskbar, and click on the globe icon. STEP 6 | Click Get Started. STEP 7 | Enter cpvpn.calpoly.edu as the portal address, then click Connect. STEP 8 | Type your Cal Poly username (do not include @calpoly.edu) and password, then click the Login button. Do not press the ENTER key on your keyboard. STEP 9 | You are now connected to Cal Poly's VPN. The Connected status is displayed in the system tray located in the bottom right section of the Windows taskbar. STEP 10 | Once you are done with your session, click the GlobalProtect icon, then click the ≡ menu icon, then select Disconnect. |
iOS
| Expand | ||
|---|---|---|
| ||
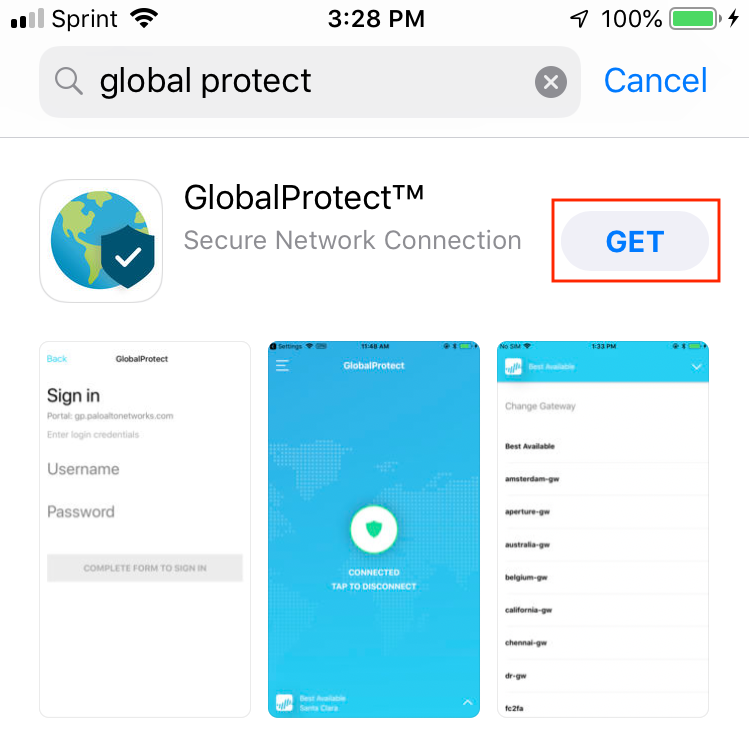
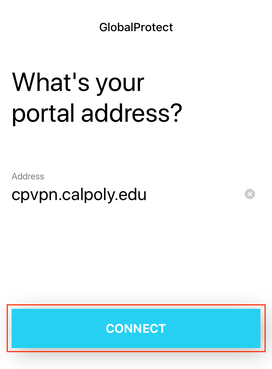
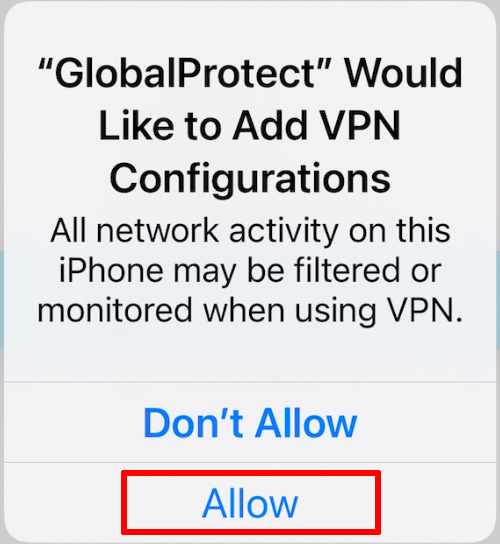
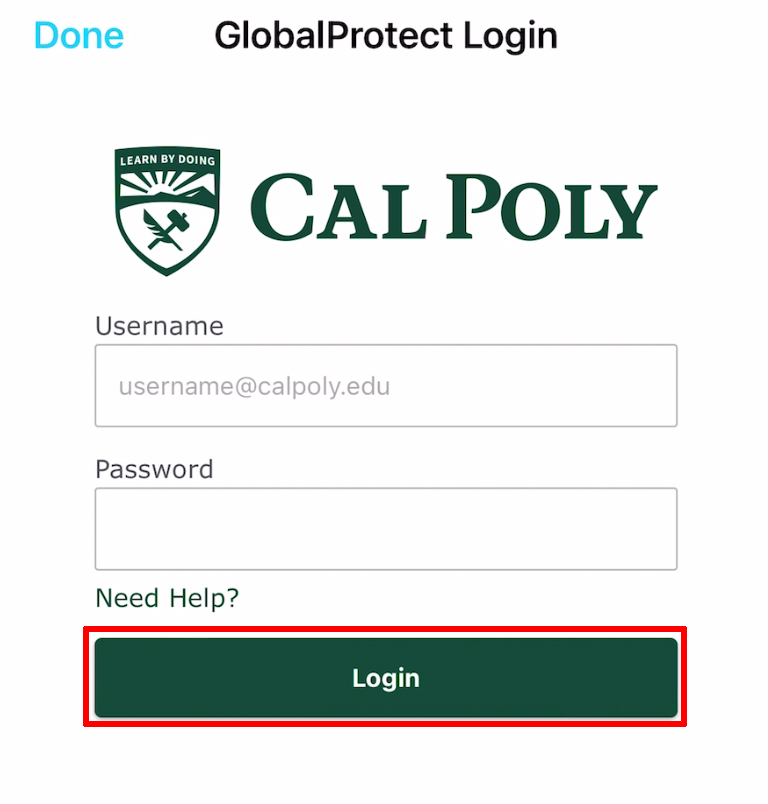
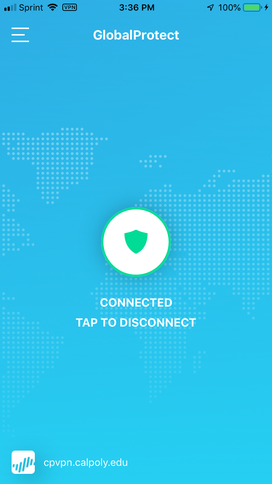
STEP 1 | Before setting up VPN, you must enroll your device(s) with Multi-Factor Authentication (Duo). You will need to add a primary and secondary device. STEP 2 | Go to the Apple App Store, and search for Global Protect. Download and launch the free app. STEP 3 | Open the GlobalProctect app. Choose to Allow for the dialog box asking “GlobalProtect” Would Like to Send You Notifications. STEP 4 | In the Address field type cpvpn.calpoly.edu as the portal address, then tap the Connect button. STEP 5 | Tap the Allow button to allow GlobalProtect to add VPN configurations. STEP 6 | Use Touch ID or enter your passcode to add the VPN configuration. STEP 7 | Log in with your Cal Poly username (do not include @calpoly.edu) and password. STEP 8 | You will be prompted to authenticate with Duo. Please be aware of Cal Poly's Responsible Use Policy. STEP 9 | You are now connected to Cal Poly's VPN. STEP 10 | Once you are done with your session, go to the GlobalProtecft app screen and tap the circle and shield icon button to disconnect. |
Android
| Expand | ||
|---|---|---|
| ||
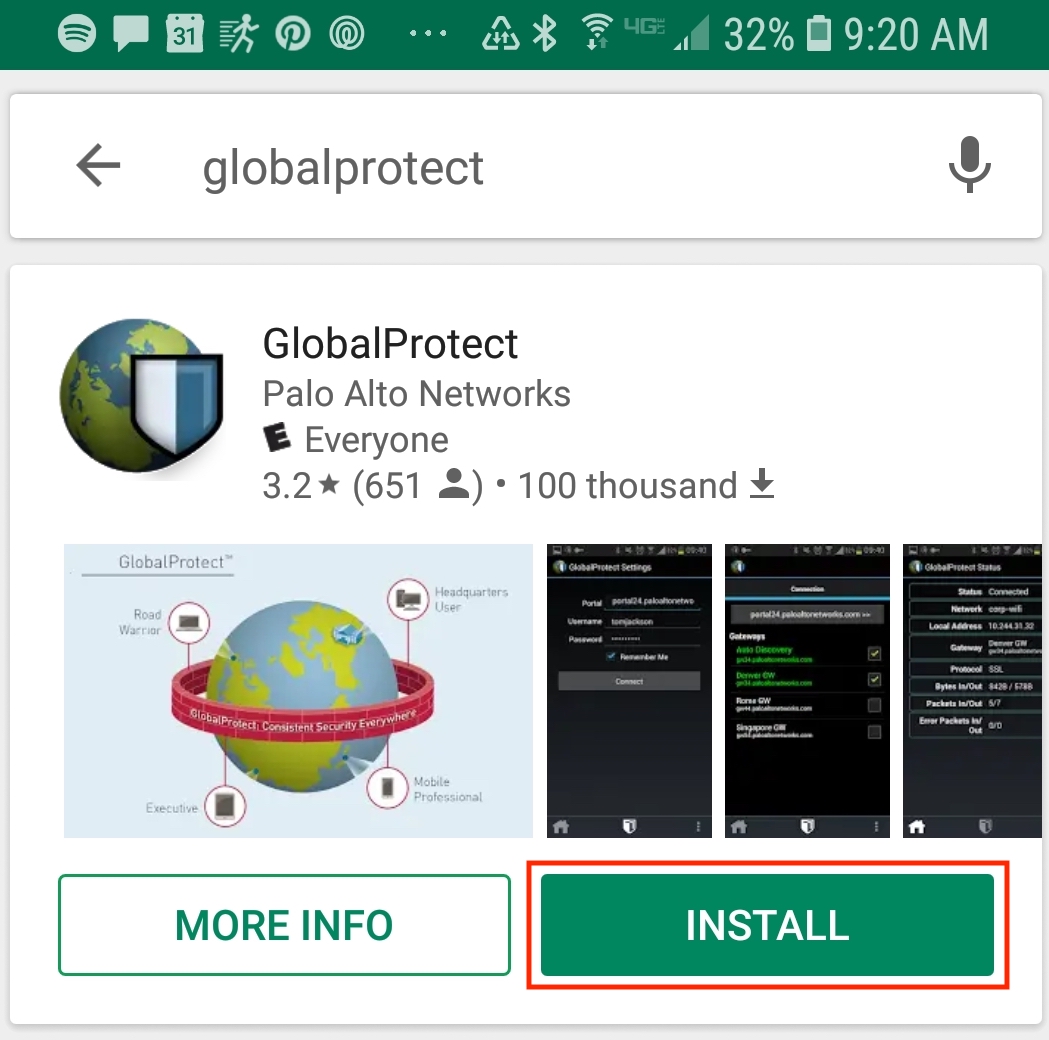
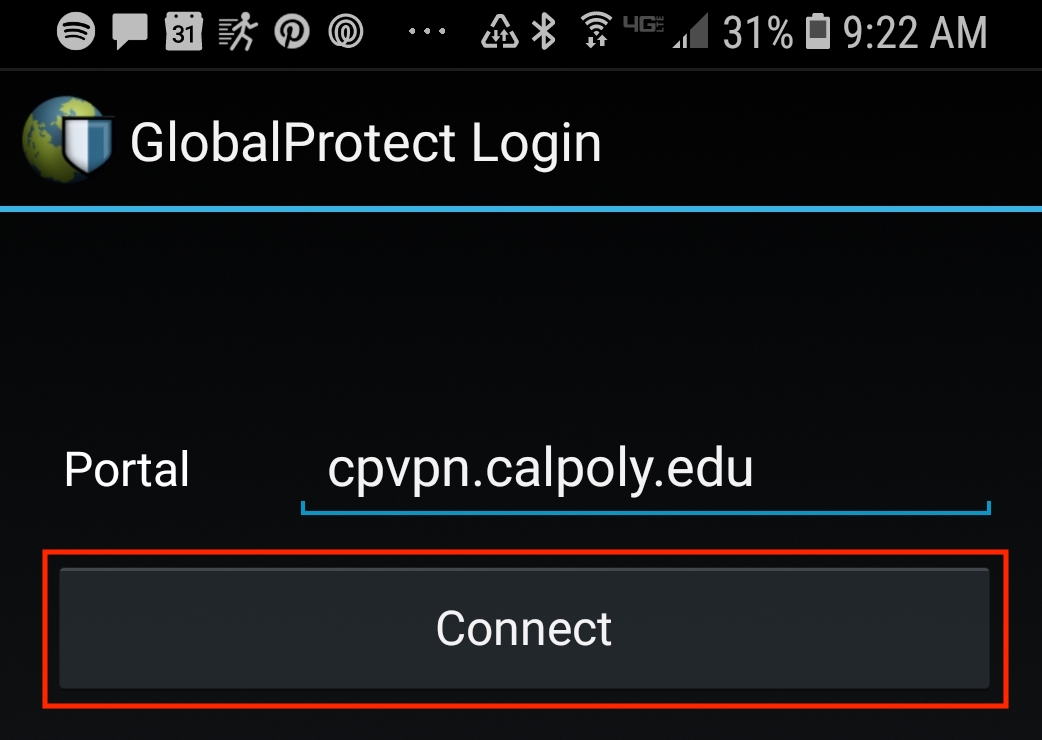
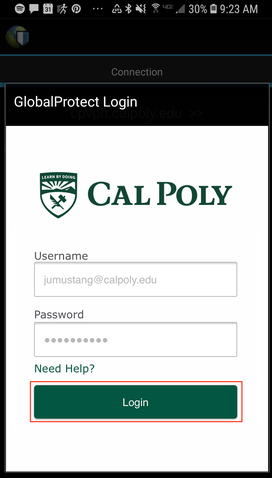
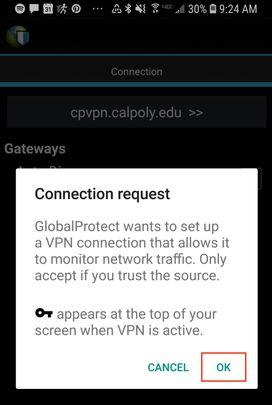
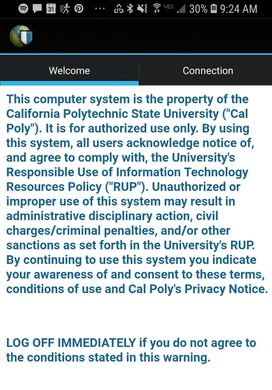
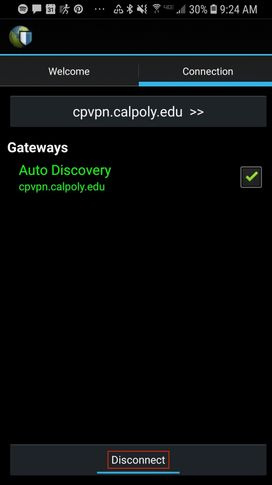
STEP 1 | Before setting up VPN, you must enroll your device(s) with Multi-Factor Authentication (Duo). You will need to add a primary and secondary device. STEP 2 | Go to the Google Play Store, and search for Global Protect. Tap the Install button to download and launch the free app. STEP 3 | Enter cpvpn.calpoly.edu as the portal address, then click the Connect button. GlobalProtect will begin retrieving your VPN configuration. STEP 4 | Log in with your Cal Poly username (do not include @calpoly.edu) and password. STEP 5 | You will be prompted to authenticate using Duo. STEP 6 | Tap OK to confirm your VPN connection request. STEP 7 | Please be aware of Cal Poly's Responsible Use Policy. STEP 8 | You are now connected to Cal Poly's VPN. STEP 9 | Once you are done with your session, tap the Disconnect button to disconnect. |
Linux
| Expand | ||||||||||||||||||||||||||||||
|---|---|---|---|---|---|---|---|---|---|---|---|---|---|---|---|---|---|---|---|---|---|---|---|---|---|---|---|---|---|---|
| ||||||||||||||||||||||||||||||
STEP 1 | Before setting up VPN, you must enroll your device(s) with Multi-Factor Authentication (Duo). You will need to add a primary and secondary device. STEP 2 | Download and install the openconnect package for the operating system using one of the following methods.
STEP 3 | Connect to the VPN. This step may require administrator/root privileges. Use your Cal Poly username (do not include @calpoly.edu).
STEP 4 | When prompted, enter your Cal Poly password. STEP 5 | You are now connected to Cal Poly's VPN.
|
...
