Learn how to color print on a campus Konica Minolta printer.
Mac:
To print using Account Track on a Mac, you must print from the built-in Mac print dialog box. Some programs have their own print dialog boxes which will NOT work with Account Track, so you will need to know how to access Mac print dialog box for certain applications.
| Expand |
|---|
|
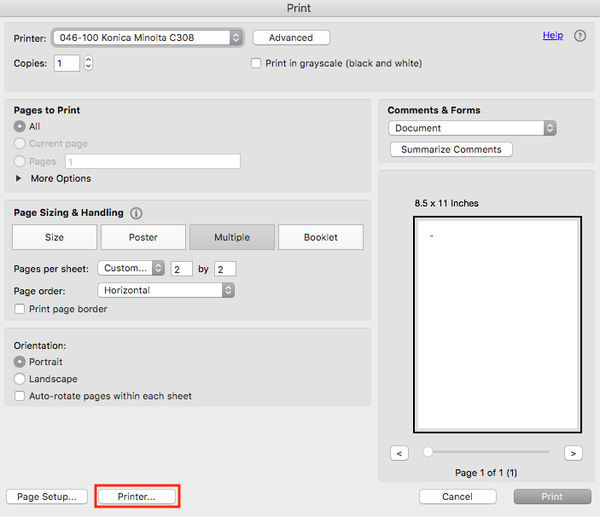
After opening your file, select the Command + P keys on your keyboard. Click the Printer button.
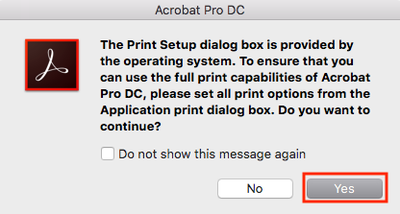
 Click the Yes button.
 If you've set up a Color Printing preset, select it, then click the Print button. If you haven't, in the drop-down menu, select Quality. Under Select Color, choose Auto Color. Click the Print button.
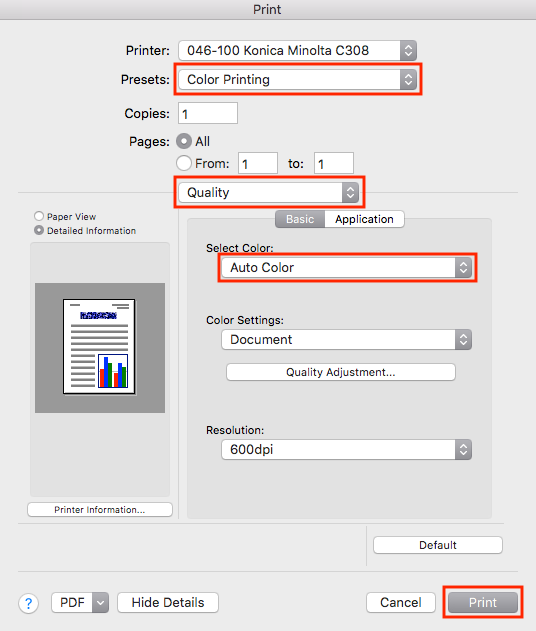 Image Removed Image Removed Image Added Image Added
|
| Expand |
|---|
|
Press the Command + P keys on your keyboard to bring up the print screen. Click on "Print using system dialog..." as shown in the picture to the right. This will then bring up the Mac print dialog box.
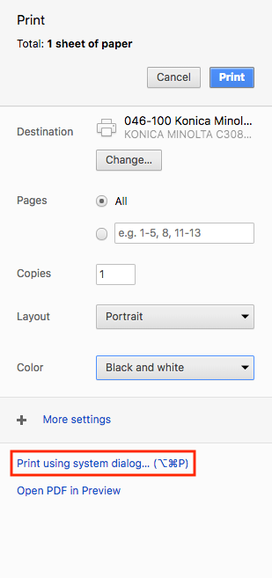 Image Removed Image Removed Image Added Image AddedIf you've saved a Color Printing preset, select it, then click the Print button. If you haven't, in the drop-down menu, select Quality. Under Select Color, choose Auto Color. Click the Print button.
 Image Removed Image Removed Image Added Image Added
|
Windows:
| Expand |
|---|
| title | Office Program like Word, Excel, or PowerPoint |
|---|
|
Select the Ctrl + P keys on your keyboard. Click on the Printer Properties link.
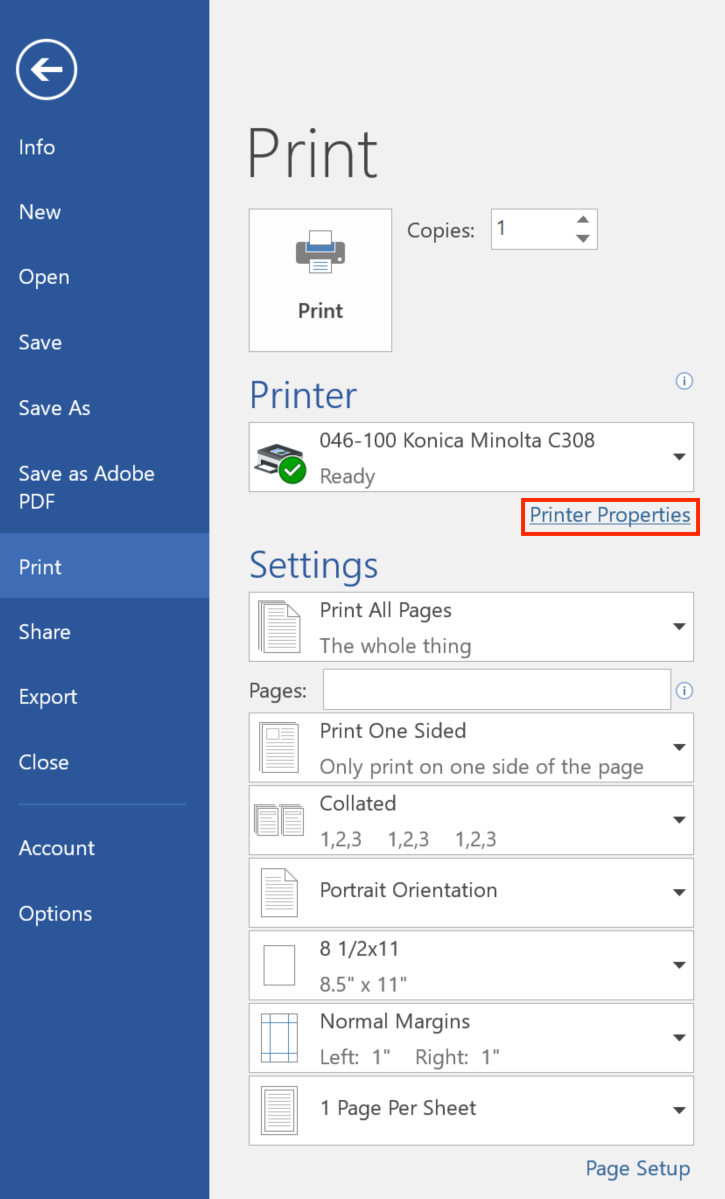 Image Removed Image Removed Image Added Image AddedUnder My Tab go to the Select Color drop-down menu. Select Auto Color. Click the OK button, then the Print button to print.
 Image Removed Image Removed Image Added Image Added
|
| Expand |
|---|
|
Select the Ctrl + P keys on your keyboard. Click the Properties button.
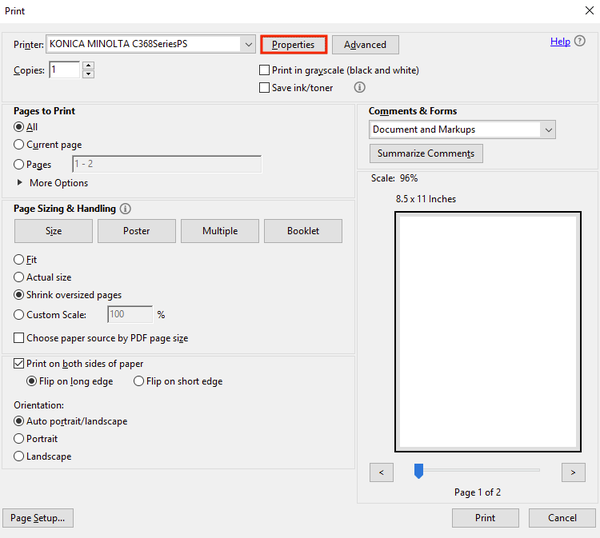 Image Removed Image Removed Image Added Image AddedUnder My Tab go to the Select Color drop-down menu. Select Auto Color. Click the OK button, then the Print button to print.
 Image Removed Image Removed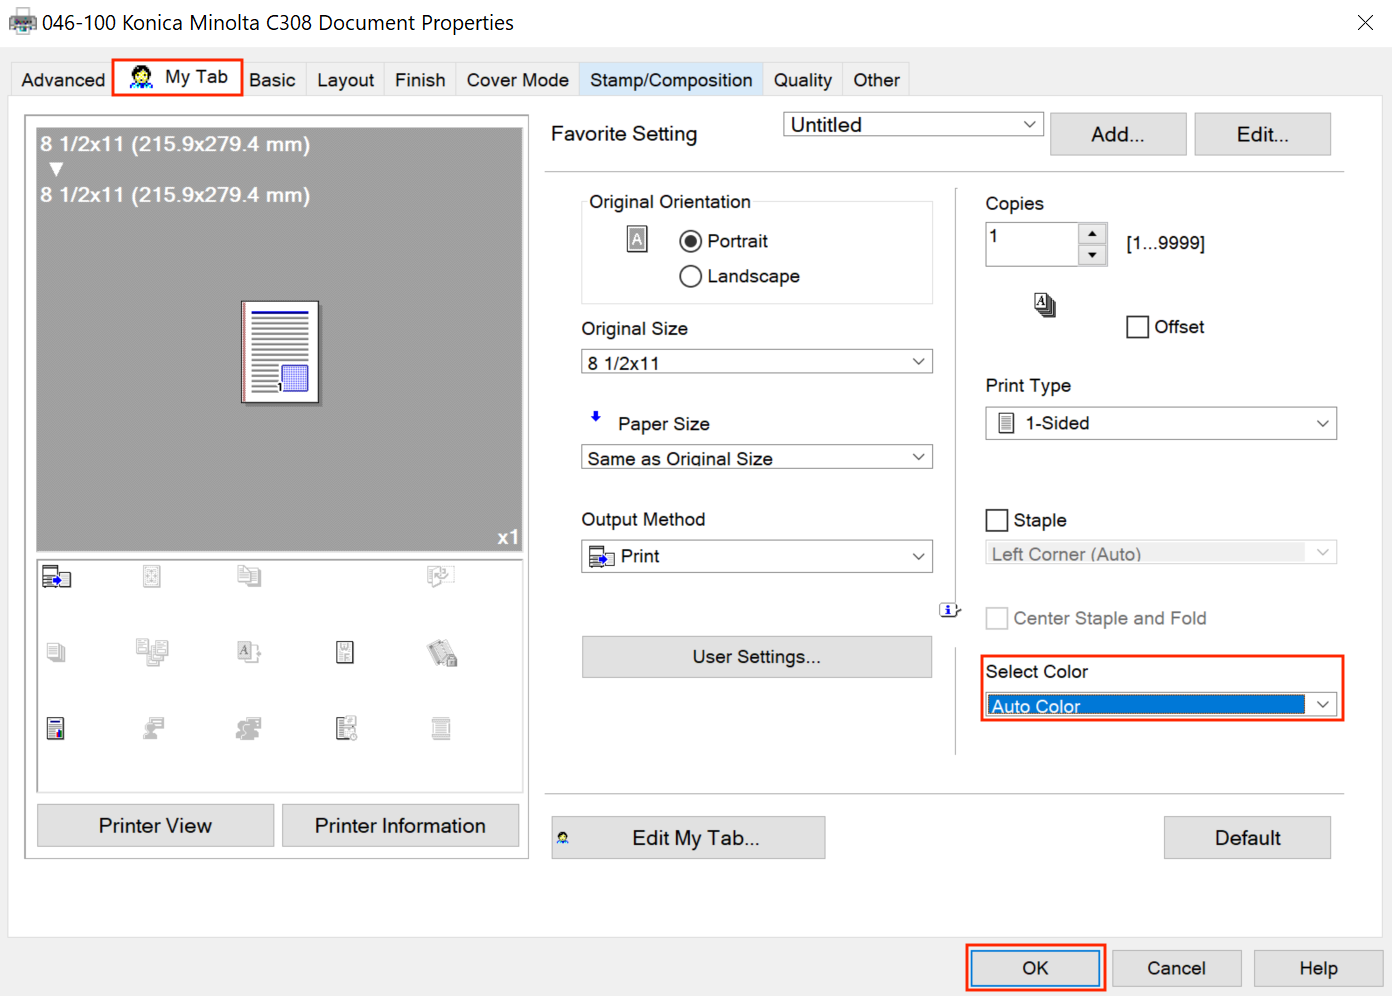 Image Added Image Added
|
| Expand |
|---|
|
Select the Ctrl + P keys on your keyboard. Click on the "Print using system dialog..." link.
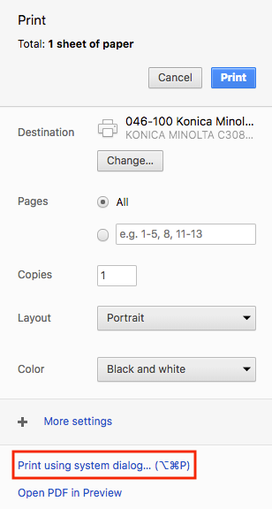 Image Removed Image Removed Image Added Image AddedMake sure the correct printer is selected and click the Preferences button.
 Image Removed Image Removed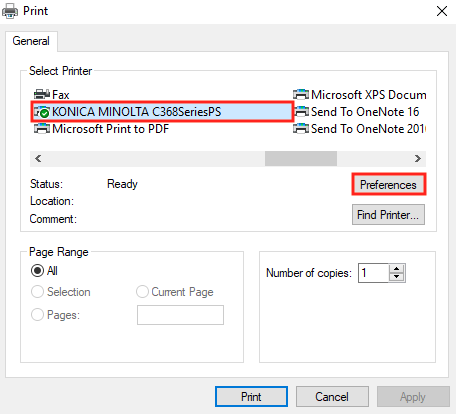 Image Added Image AddedUnder My Tab go to the Select Color drop-down menu. Select Auto Color. Click the OK button, then the Print button to print.
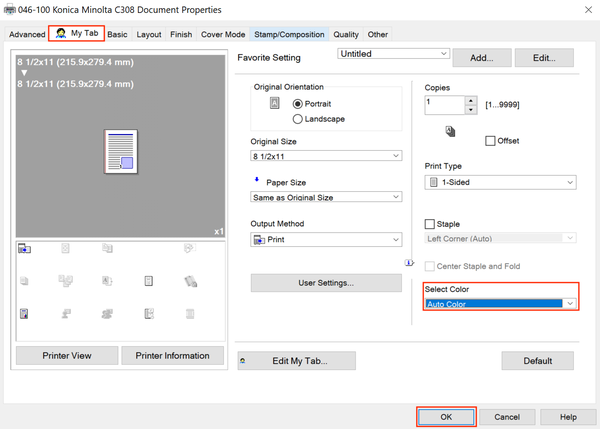 Image Removed Image Removed Image Added Image Added
|
...
Related Articles
...